


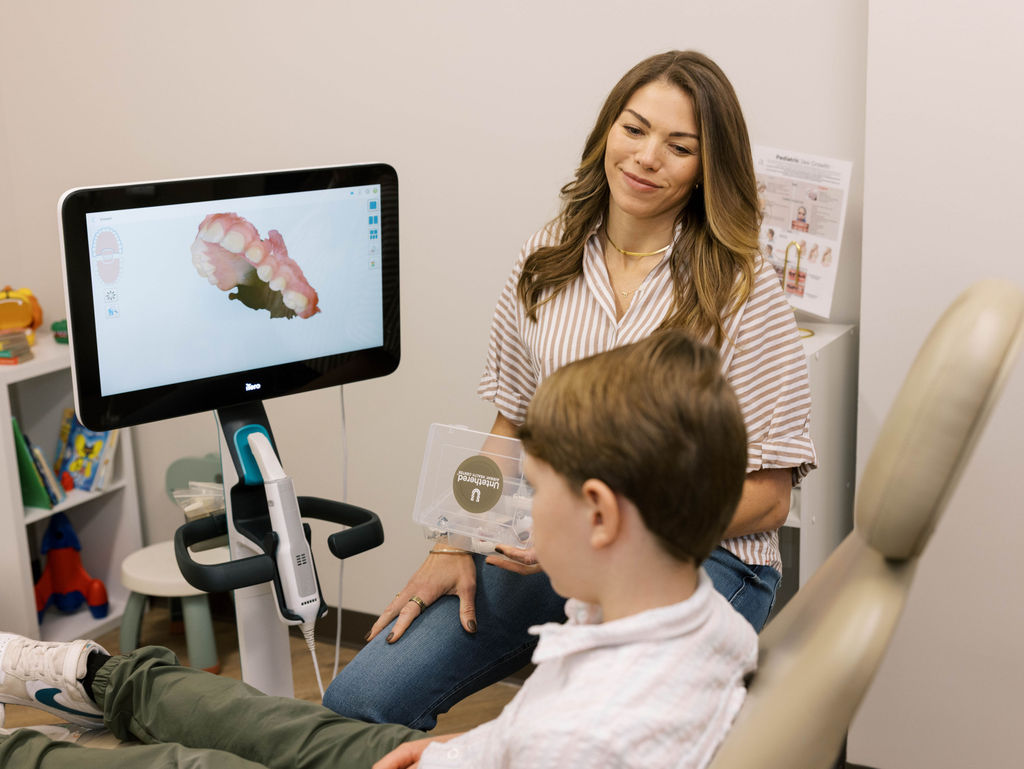
If you’ve been told your child might have a tongue tie or a lip tie, you’re probably a little tired. Tired of mixed answers. Tired of “wait and see.”
We get it. And we want to make this simpler.
A tongue tie is a tight band of tissue under the tongue. A lip tie sits behind the upper lip. They’re two different restrictions, they often get mixed up, and a child can have one, the other, or both. This guide walks through tongue tie vs lip tie children Wheat Ridge Colorado families should understand before choosing a provider — what each one looks like, how laser release works, and what recovery really feels like.
Most parents who end up in our chair were first told to wait. Wait for speech. Wait for braces. Wait until it gets worse. That’s a frustrating answer when your kid is struggling right now. So we’ll keep things clear, honest, and grounded in what we actually see every week.
Our Lakewood office is about fifteen minutes south of Wheat Ridge, straight down Wadsworth. Consultations are open most weekdays, and you don’t need a referral to come see us.
Tongue Ties and Lip Ties Are Two Different Restrictions With Overlapping Symptoms
The confusion usually starts here. A parent hears “tie” and thinks it’s one thing. It isn’t.
A tongue tie is a tight band of tissue under the tongue, called the lingual frenulum. When it’s short or thick, the tongue can’t lift, stretch, or move the way it should. A lip tie sits above — a band behind the upper lip. When it’s tight, the lip doesn’t flip up easily, and brushing that top gumline can be a daily fight. The American Academy of Pediatric Dentistry’s policy on frenulum management describes both as functional concerns, not cosmetic ones.
A child can have one. Or the other. Or both. They’re not the same condition, even though the symptoms blur together.
Here’s what we see most often in kids:
- Tongue tie signs: trouble with L, R, S, or Th sounds, messy eating, gagging on textures, narrow palate, mouth breathing at rest
- Lip tie signs: a visible gap between the front two teeth, a top lip that won’t lift easily, pain or resistance when brushing the upper gums
- Overlap: both can contribute to crowded teeth, restless sleep, snoring, and slow feeding at meals
A lot of Wheat Ridge parents first notice something at a Jeffco school screening or during a check-in at Stober Elementary. Sometimes a teacher mentions it. Sometimes a sibling points it out. That’s often the moment the search begins.
Laser Release Is a Short, Low-Trauma Procedure for Children
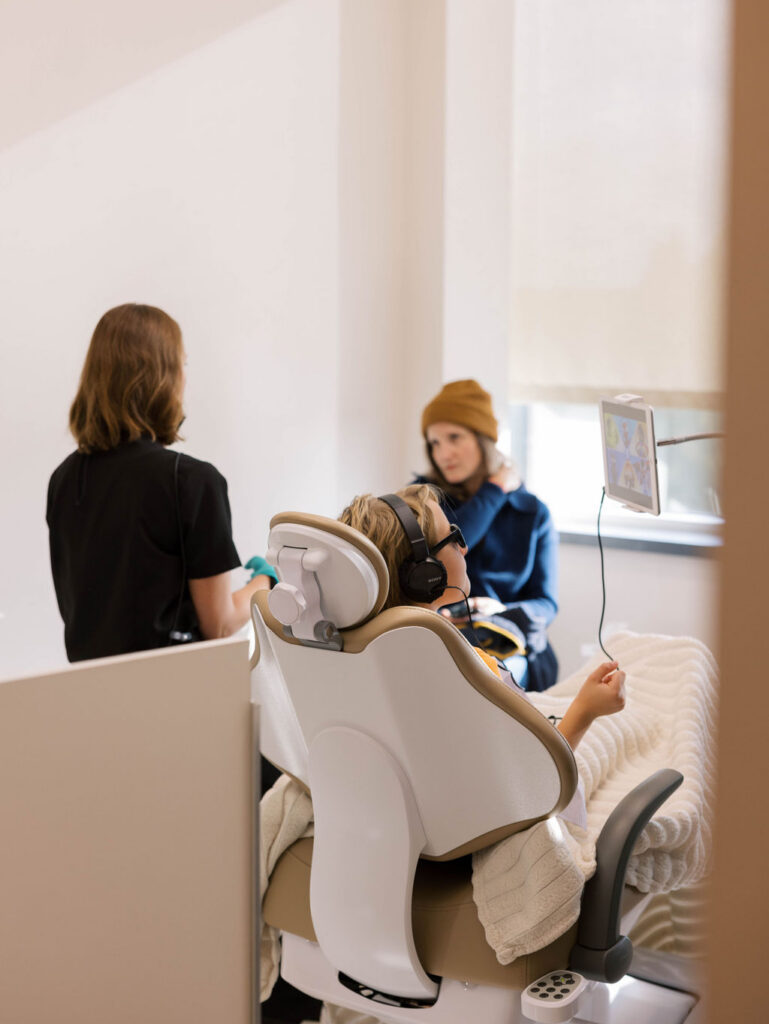
Most parents picture something much bigger than what actually happens.
The release itself takes seconds. A soft-tissue laser cuts and seals at the same time — so there’s no scalpel, no stitches, and very little bleeding. Local numbing keeps your child comfortable, and general anesthesia isn’t needed in most cases. Your child stays awake, sits upright, and has a parent right there. The whole visit — check-in to walking out — usually wraps up in about an hour.
What a typical visit looks like:
- Check-in and quick review of health history
- A functional exam to confirm the tie and map the release
- Topical numbing, then local anesthetic
- The laser release (usually under a minute of active cutting)
- A short demo of the post-release stretches
- Comfort time before heading home
Because the laser seals as it goes, most children are back to normal eating within hours. Not days. Hours. A lot of our Wheat Ridge families finish the visit with time to spare — enough to make a late pickup at Prospect Valley Elementary or grab a soft smoothie on the way home.
How Wheat Ridge Parents Prepare Their Child for a Smooth Visit
Preparation matters more than most people think. Not because the procedure is hard — but because a calm child does better.
Use simple, honest words ahead of time. Something like, “The dentist is going to help your tongue move better. There’s a special tool that’s quick and doesn’t hurt.” Skip the scary medical language. Don’t promise no needles; do promise you’ll be right there.
A few things that help:
- Pack a favorite stuffy, blanket, or comfort item
- Bring a water bottle and something soft for the ride home (yogurt, smoothie, applesauce)
- Schedule morning, when your child is rested
- Don’t plan it right after a long Clear Creek Trail hike or a big soccer game
- Fill out paperwork online before you arrive, so check-in is short
And if you’re quietly worried this will traumatize your child — that fear is the most common one we hear. We’ve done this thousands of times. Kids handle it better than adults expect. Almost always.
What Recovery and Results Look Like in the Weeks After Release
The release opens the door. Recovery is what walks through it.
First 24 hours: mild soreness, soft foods, extra snuggles. Some kids are back to normal by dinner. Others take a day to feel themselves again.
First week: short, gentle stretches done a few times a day to keep the area healing open. We’ll show you how at the visit and send you home with a video. Stretches take under a minute each round.
Weeks 2–6: this is where the real changes show up. Speech clarity improves. Eating gets smoother. Sleep often deepens. Many kids stop mouth breathing at night.
We usually pair the release with myofunctional therapy — short sessions that retrain the tongue to rest on the palate and move correctly. The release gives the tongue room. Therapy teaches it what to do with that room. Without therapy, old habits can creep back. Cleveland Clinic notes that functional improvements after release depend heavily on post-procedure support and retraining.
Follow-ups are usually quick — 15 to 20 minutes. Easy to fit around pickup at Wheat Ridge High School or Mountain Phoenix Community School.
Signs healing is going well:
- White or yellow patch under the tongue (normal — it’s not infection)
- Kid is eating, drinking, talking as usual
- Mild discomfort that fades day by day
Signs to call us:
- Active bleeding that doesn’t stop with gentle pressure
- Fever over 100.4°F
- Refusal to eat or drink for more than 6 hours
- Swelling that’s getting worse, not better
Getting to the Lakewood Office From Wheat Ridge Is a Short, Simple Drive
The office sits at 3900 S Wadsworth Blvd in Lakewood — about 15 minutes south of central Wheat Ridge. Straight shot down Wadsworth for most families.
From Applewood Villages: Youngfield south to US-6 east, then south on Wadsworth.
From Ridge at 38 or downtown Wheat Ridge: Wadsworth Boulevard straight south the whole way. No turns to track.
From east Wheat Ridge near Kipling: Kipling south to Hampden, then east to Wadsworth.
Parking is free at the building. The office is on the 6th floor, Suite 625 — elevator straight up from the ground floor. If you’re coming from the RTD G Line at Wheat Ridge · Ward Station, you can connect to the W Line through downtown Denver.
And the honest truth: the drive is worth the trip. No Wheat Ridge practice offers the full airway-focused pediatric approach under one roof — tongue tie release, myofunctional therapy, airway orthodontics, and sleep-breathing evaluation all coordinated by one team. That matters when your child needs more than one piece of care.

